
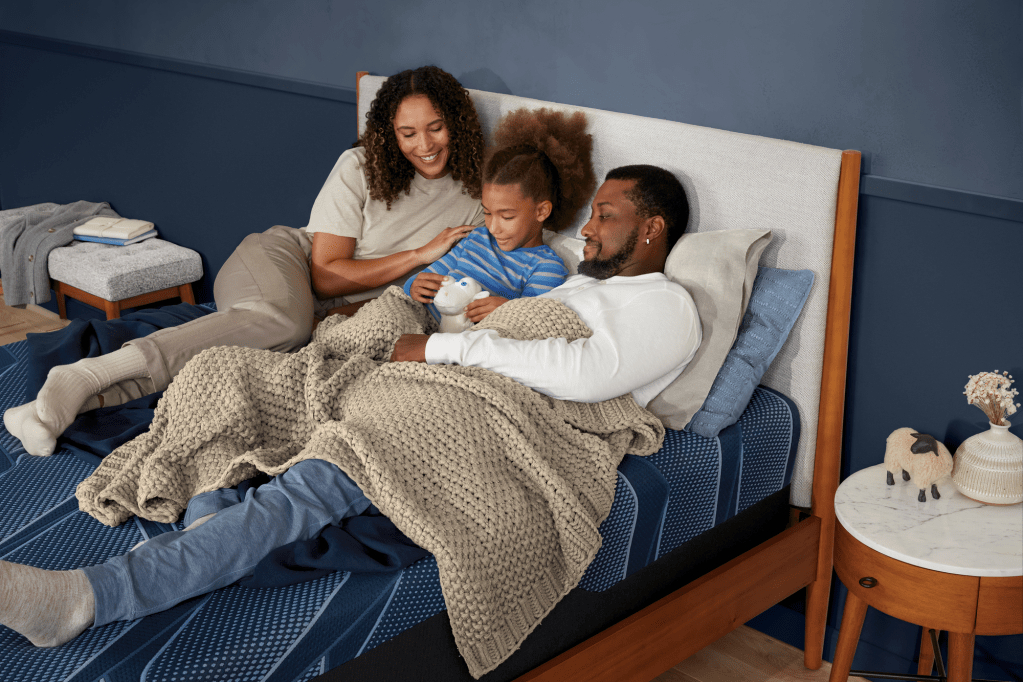
Buying a new mattress sounds simple until you start shopping.
Suddenly, you are looking at plush, firm, hybrid, memory foam, cooling covers, adjustable bases, split head options and a lot of opinions from people who all swear they know the “best” mattress.
The truth? The best mattress is not the same for everyone. It depends on how you sleep, what feels uncomfortable on your current mattress and what kind of support your body needs night after night.
Before you start comparing models, start with a better question: what do you need your mattress to fix?
Maybe you wake up with a stiff lower back. Maybe your shoulders or hips feel sore. Maybe you sleep hot, toss and turn or feel like your current mattress has lost its support. Those clues can tell you a lot about which mattress features matter most.
Here’s how to make mattress shopping feel less overwhelming and a lot more useful.
Start With What Is Not Working About Your Current Mattress
One of the easiest ways to narrow your mattress search is to think about your current sleep problems.
Ask yourself:
- Do I wake up sore or stiff?
- Do I toss and turn during the night?
- Do my shoulders, hips or lower back feel uncomfortable?
- Do I sleep too warm?
- Has my mattress started to sag or feel uneven?
- Do I feel better after sleeping somewhere else?
These answers can help point you toward the right combination of support, comfort and cooling.
For example, if your hips and shoulders feel sore, you may need better pressure relief. If your lower back feels stiff, you may need stronger support and better spinal alignment. If you wake up hot, cooling materials and airflow should be a priority.
Mattress shopping gets easier when you stop looking for the “best mattress” overall and start looking for the best mattress for your body.
Support Is Not the Same Thing as Firmness
This is one of the biggest mattress shopping myths: firmer always means more supportive.
Not necessarily.
A mattress can feel firm on the surface but still fail to support your body correctly. True support is about how well the mattress helps keep your spine aligned while still allowing your shoulders, hips and other pressure points to rest comfortably.
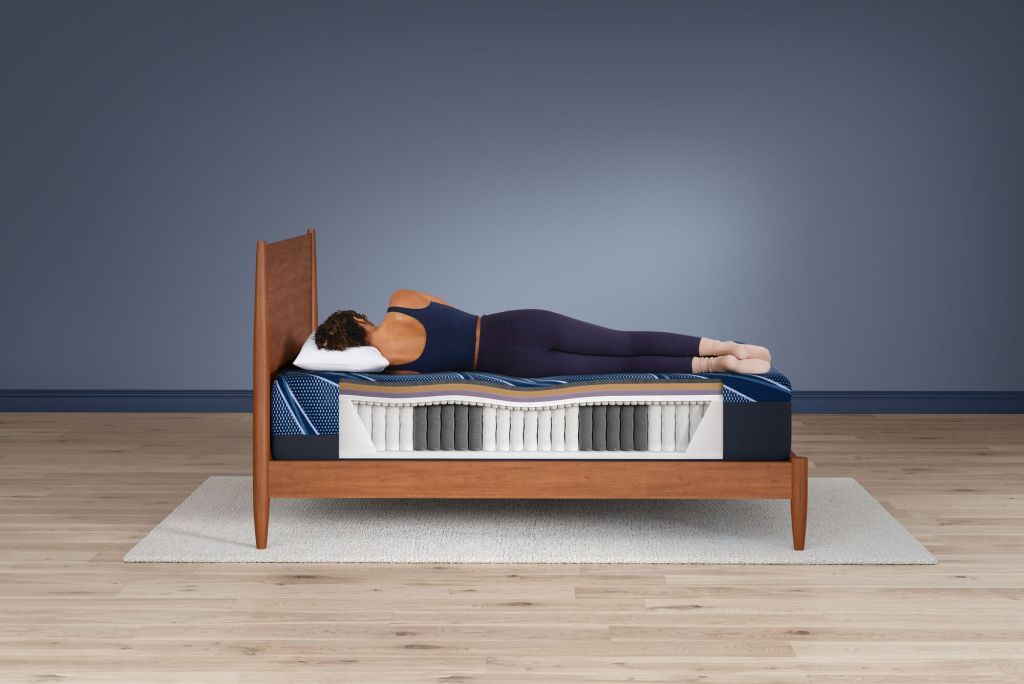
Think of support as the part of the mattress that helps your body stay properly positioned. This often comes from the deeper layers, such as the coil system or support core. In hybrid mattresses, wrapped coils can move more independently, which can help the mattress respond to your body while reducing motion transfer.
Firmness is how the mattress feels when you lie on it.
Support is how well the mattress holds you in the right position.
You need both, but they are not the same thing.
Match the Mattress Feel to Your Sleep Position
Your sleep position can make a big difference in what type of mattress feels comfortable.
Side Sleepers
Side sleepers usually need more pressure relief around the shoulders and hips. If the mattress is too firm, those areas can take on too much pressure, which may lead to soreness or tossing and turning.
A plush, medium or contouring hybrid mattress can often be a good fit because it gives the body enough cushioning while still offering support underneath.
Back Sleepers
Back sleepers typically need a balance of comfort and support. The mattress should support the lower back and help keep the spine aligned without feeling too hard or too soft.
A medium or firm mattress can work well for many back sleepers, depending on body type and personal comfort preference.
Stomach Sleepers
Stomach sleepers usually need a firmer, more stable surface to help prevent the midsection from sinking too far into the mattress. Too much sink can put extra strain on the lower back.
A firm or extra firm mattress is often worth considering for stomach sleepers who want a more supportive feel.
Combination Sleepers
If you change positions throughout the night, look for a mattress that feels responsive and easy to move on. A medium hybrid mattress can be a strong choice because it often provides a blend of cushioning, support and bounce.
Hybrid vs. Memory Foam vs. Innerspring: What Is the Difference?
Mattress type matters because the materials affect how the mattress feels, responds and supports your body.
Hybrid Mattresses
Hybrid mattresses combine a coil support system with foam comfort layers. This gives you a balance of support, pressure relief, responsiveness and airflow.
They are a popular choice for shoppers who want the cushioning of foam but do not want to give up the support and bounce of coils. If you are not sure where to start, a hybrid mattress is often one of the most versatile options to try.
Memory Foam Mattresses
Memory foam mattresses are known for close contouring. They hug the body more deeply and can help cushion pressure points like the shoulders and hips.
This can be a good option for sleepers who want a more cradled feel or who need extra pressure relief. Some memory foam mattresses may feel warmer than other options, so hot sleepers should pay close attention to cooling features.
Innerspring Mattresses
Innerspring mattresses use coils as the main support system and often have a more traditional mattress feel. They tend to feel responsive and supportive, though comfort can vary depending on the design and top layers.
If you like a familiar, more classic sleep surface, innerspring may still be worth considering.
Think About Temperature Before You Buy
If you sleep hot, temperature management should be part of your mattress decision.
Cooling features can include breathable foams, airflow-friendly construction, cooling covers, moisture-wicking fabrics and specialty materials designed to help move heat away from the body.
This matters if you:
- Wake up warm or sweaty
- Kick the covers on and off all night
- Sleep hotter than your partner
- Like a cooler feel when you first lie down
- Feel uncomfortable on dense or heat-trapping materials
A mattress will not replace good room temperature, bedding or airflow, but the right materials can make a big difference in how comfortable the mattress feels through the night.
When Is It Time to Replace Your Mattress?
Many people replace their mattress every 7 to 10 years, but age is not the only thing that matters. Comfort and support are better signs.
It may be time for a new mattress if:
- You wake up sore or stiff
- Your mattress sags or feels uneven
- You sleep better away from home
- You toss and turn more than you used to
- Your mattress feels too warm
- You and your partner need different comfort or support
- Your sleep quality has noticeably changed
A mattress is something you use every night, so small comfort problems can add up quickly. If your mattress is no longer helping you rest, it may be time to start shopping.
Do Not Forget About the Base
A mattress is only part of the sleep setup. What sits underneath it matters, too.
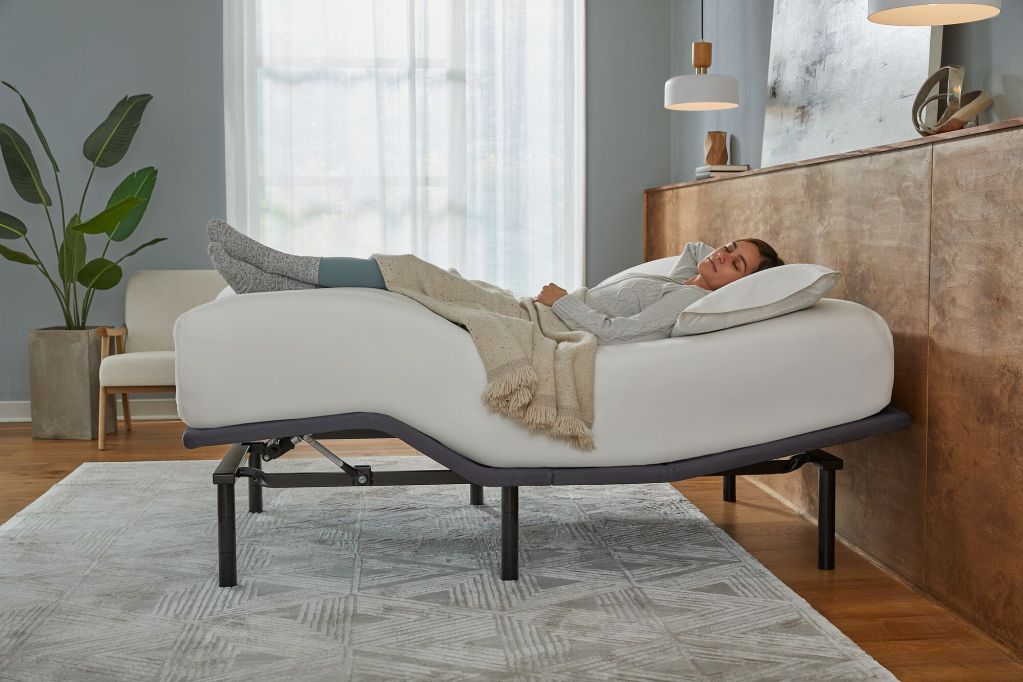
A standard foundation, platform bed or adjustable base helps support the mattress and can affect both comfort and long-term performance. The goal is to give the mattress a stable, even surface from edge to edge.
A foundation or platform bed is a good fit if you want simple, sturdy support. An adjustable base gives you more flexibility because you can raise or lower the head or foot of the bed.
Adjustable bases can be helpful if you like to read, watch TV, work on a laptop or relax in bed. They can also make your sleep space feel more customized when paired with a compatible mattress.
Before choosing a base, make sure it works with the mattress you are buying. The wrong base can affect comfort, support and performance over time.
Give Your Body Time to Adjust
A new mattress can feel different at first, even if it is the right one.
Your body may need time to adjust to a new level of support, pressure relief and alignment. The mattress itself may also need time to break in, especially if it has denser foam layers.
That is why many mattress policies include a 30-day adjustment period before returns are allowed. It gives both you and the mattress time to settle in before making a final decision.
During the first few weeks, pay attention to patterns instead of judging the mattress after one or two nights. Are you waking up less often? Do you feel more supported? Is the mattress becoming more comfortable as it breaks in?
A short adjustment period is normal. Ongoing pain, major discomfort or sleep that keeps getting worse may be a sign that the fit is not right.
The Bottom Line: Shop for the Way You Actually Sleep
The right mattress should support your body, relieve pressure, help you stay comfortable and fit the way you sleep.
Instead of starting with a firmness label or a popular recommendation, start with your own sleep habits. Think about your sleep position, whether you wake up sore, if you tend to sleep hot and what you wish felt better about your current mattress.
Then try mattresses that solve those problems.
At Warners’ Stellian, our specialists can help you compare mattress types, comfort levels, sizes, bases and sleep features so you can feel more confident about your choice. Whether you are upgrading your primary bedroom, choosing a mattress for a guest room or finally replacing the one you have been meaning to get rid of, the right guidance can make the process a lot easier.
Ready to find your fit? Explore mattresses at Warners’ Stellian and discover a sleep setup made for the way you live.


